Monday, 3 December 2012

xmas diy no.2: homemade muesli


Since I was young I've only ever tasted "store-bought" muesli a couple of times. The reason being, my mom has always baked her own for us Groblers. So I'm quite a snob when it comes to muesli, I am easily disappointed if I find too many raisins in mine! (Raisins are boring *rolls eyes* and tend to over-sweeten the muesli) I prefer having an "array" of nuts, seeds, and dried fruits - and who can argue that. It's one of the easiest and tastiest ways of putting nutrients back into your body :)

So here it is, a muesli recipe that gets two thumbs-up from me! I recommend packaging/storing it in a mason jar when giving it to someone as a gift, as this will ensure the muesli stays air-tight and keeps it's crunchy texture. 

HOMEMADE MUESLI (Makes roughly 28 servings)

Ingredients: 

  • 4 cups old-fashioned oats
  • 1 cup chopped pecan nuts
  • 1/2 cup sunflower seeds, raw unsalted
  • 1/2 cup brown sugar, packed
  • 1/4 tsp salt
  • 1/4 cup vegetable, canola or coconut oil
  • 1/2 cup honey or maple syrup 
  • 1 tbsp vanilla essence
  • 1/2 cup shredded coconut (I left out the coconut in my recipe)
  • 1/2 cup dried cranberries
  • 1/2 chopped dried apple
  • 1/2 cup currants
Directions:

  1. Preheat oven to 150 degrees. (Muesli needs to be baked at a lower temperature than usual)
  2. Combine the oats, pecan nuts, sunflower seeds, brown sugar and salt in a large bowl. Stir well to combine, breaking up any lumps of brown sugar.
  3. In a glass measuring cup, combine the oil and honey. Microwave for 45 seconds to 1 minute. Remove. Add vanilla and stir well.
  4. Pour oil/honey mixture over the oats mixture. Using two spoons, stir and toss the mixture until all of the oats are coated with the syrup.
  5. Place granola directly onto a baking sheet and place in the oven. Set the timer for 10 minutes. At the end of 10 miinutes, remove the granola and stir, moving the granola around the outside edges into the middle and the middle out towards the edges. Set the timer for another 10 minutes. 
  6. After the second 10 minutes, sprinkle with the coconut and then stir well again. Return to oven and set the timer for one last 10 minute bake. (30 minutes total, stirred twice at 10 minutes and 20 minutes). At the end of the last 10 minutes (30 minutes in the oven), remove the granola from the oven. Stir just a bit then sprinkle with the cranberries, dried apple and currants and leave undisturbed until it is completely cooled. 
  7. Once cooled, stir the granola. Store at room temperature in an air-tight container. Will keep for several weeks.

Saturday, 1 December 2012

'weeping rose' by tretchikoff


My mom brought home this lovely postcard of Tretchikoff's "Weeping Rose" from Fat Tuesday the other day. I can't seem to take my eyes off it... there is something about still-life paintings that I find so engaging. 

Sunday, 25 November 2012

recipe: chocolate brownie sandwiches with salted caramel


These brownie sandwiches are probably one of the most indulgent things I've made in a long time! Definitely the kind of thing you would have on an "off-day". Ha ha. The salted caramel was my first attempt and I was really chuffed with how it came out. Caramel can leave you in quite a sticky situation (sorry... I had to) if you don't keep a watchful eye whilst it simmers in the pan. 

I served these with vanilla ice-cream which broke up the richness of the brownie. This dessert was definitely the stuff heaven is made of - no matter how sinful! :)

CHOCOLATE BROWNIE SANDWICHES WITH SALTED CARAMEL (Makes 14 sandwiches)

Ingredients:

360g dark chocolate, chopped
3 tbsp butter
2 eggs
2/3 cup sugar
1 tsp vanilla essence
1/4 cup all-purpose flour, sifted
1/4 tsp baking powder, sifted

Directions:

1. Preheat oven to 180 degrees. Line baking tray with parchment paper.

2. Place 210g of the chocolate and the butter in a saucepan over a low heat and gently stir until melted and smooth. Set aside.

3. Place the eggs, sugar and vanilla in the bowl of a stand mixer and beat for 15 minutes or until pale and creamy. Add in flour, baking powder, melted chocolate mixture, remaining chocolate and mix to combine. Set aside to to stand for 10 minutes. 

4. Spoon tablespoonfuls of the mixture onto the parchment lined baking sheet. Bake for about 8–10 minutes or until puffed and cracked. Allow to cool completely on trays.

For the salted caramel filling:

1 cup butter
2 cups icing sugar
1/4 tsp salt
1/4 cup caramel (make sure it is cooled if it is homemade. Click here for the homemade caramel recipe)

1. Place butter in a bowl and beat until creamed. Add in sugar and salt and beat until lightly combined. Add in caramel and beat until combined.

To assemble: Spread a teaspoon and a half of caramel filling on the underside of one brownie cookie and place a second brownie cookie bottom side down on top of the frosting.

Tuesday, 20 November 2012

xmas diy no.1: spicy christmas cookies


As promised, here is my first Christmas DIY post. I decided to start it off with a very easy, budget-friendly gift idea - spicy Christmas cookies. The great thing is that you're more than likely to have all these ingredients in your kitchen already.

Once baked, the obvious choice would be to package these biscuits in tin containers but if you really want to make these go a long way - bake them with lollipop sticks and wrap them individually with clear cellophane. I must say there's something really novel about something that is individually wrapped! Secure with twine or even washi tape, and there you have the tastiest little stocking filler!


NOTE: I halved this recipe as it makes PLENTY. A normal batch will make +-40 cookies.

SPICY CHRISTMAS COOKIES


Ingredients:

500g plain flour
15ml baking powder
1 tsp salt
1 tsp ground ginger
1 tsp ground cinnamon
1 tsp ground mixed spice
250g margarine or butter
250g white sugar
2 large eggs


Directions:

1. Preheat oven to 180 degrees and grease and flour a baking sheet.

2. Sift the flour, baking powder, salt, ginger, cinnamon and mixed spice into a mixing bowl.

3. Cream the margarine and sugar then add the eggs one by one, beating well after each addition.

4. Fold in the flour mixture and mix well. Roll out the dough on slightly floured surface (about 5mm thick) and cut out rounds with a cookie cutter. Using lollipop sticks, press gently into the side of each cookie.

5. Place cookies in oven for approximately 10 mins, or until a light golden colour.

Decorate with a *glacé icing.


*For the glacé icing:

2 egg whites
2 tsp lemon juice
2 cups icing sugar

1. Beat well. Hold cookies by outside edges and spread on top. If you would like to add polka dots to your cookies, mix (in a separate bowl) the glacé icing with a drop of red food colouring.

Thursday, 15 November 2012

a weekend in mcgregor


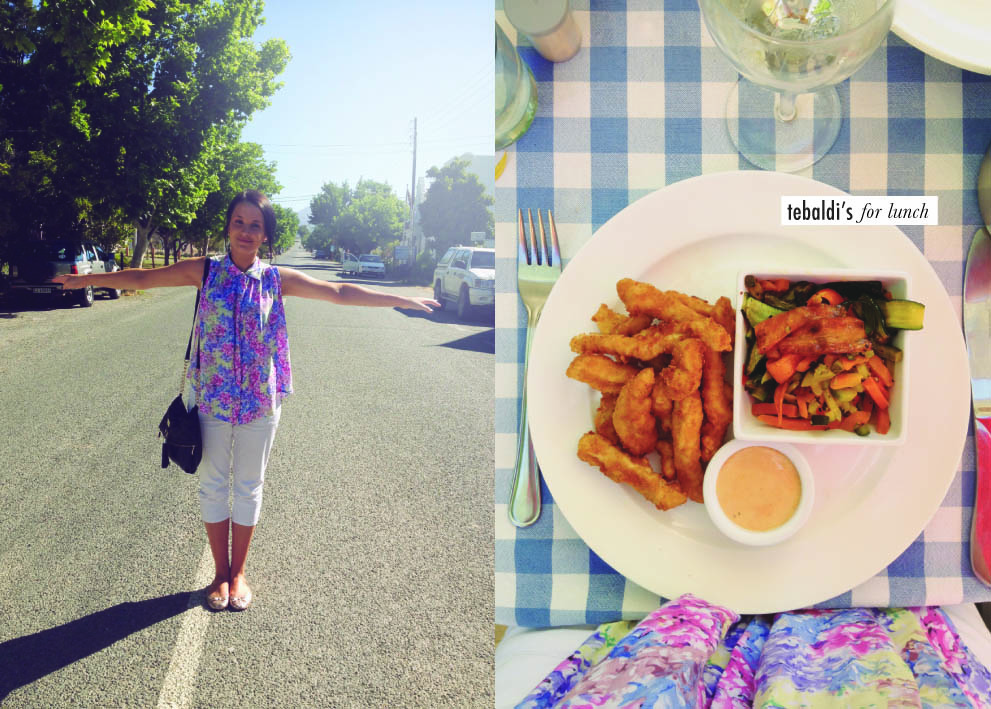
This weekend my parents, grandfather and I visited my grandfather's wine estate in McGregor, in the Western Cape. The remote town (2 hours outside Cape Town) gleams old world charm with it's historical 19th century architecture. It was just the mini break I was needing - peaceful and relaxing. 

The flora in Mcgregor was breathtaking - how often do you get to see bright pincushion proteas growing wildly in abundance?! Or a field full of leeks? I rest my case.

We were lucky enough to experience perfect weather whilst we were down there too, allowing us to really take in the beauty of the town. McGregor boasts 2 nominees for 'Best country-style restaurant' by EatOut magazine - so, by my mom's insistence, we got to try both of them out - De Kaap restaurant and Karoux. If you are ever in the area, be sure to try out the Sunday buffet at De Kaap. (most of the fresh produce is sourced from their own vegetable and herb garden)

Here are a few pics from my weekend - please excuse the quality as these were all taken on my iPhone.

Tuesday, 6 November 2012

XMAS D.I.Y-ING


I've slowly started gathering (or should I say pinning) some Christmas inspo onto my Pinterest board. Although my search for awesome Christmas-sy D.I.Y is nowhere near completion, please feel free to have a look and get inspired. Here are a few essential 'bits and bobs' that I know I won't be without -  my favourite item being seed cloth. There is just so much you can do with it, I think it's amazing! (Think dip-dyed table cloths, embellished tote bags, cushion covers, and more.) Over the next couple of weeks I will be testing some of the Christmas ideas I have pinned to my board, so stay tuned. Whoever said the act of "giving" has to be an expensive exercise, clearly hasn't heard of Pinterest. Ha!